It's usually around the weekends that I have the time to really cook and most times, I'll try to make something that's hearty, a bit more elaborate than the usual daily food and of course something that can last two meals.
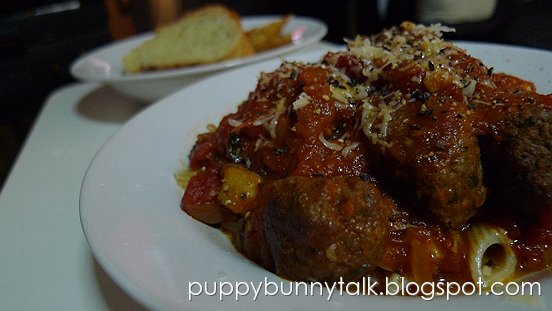
This is one of my favorites to make - meatballs in a tomato base sauce with pasta (types of pasta varies but mostly the puppy prefers penne)
Prepping everything
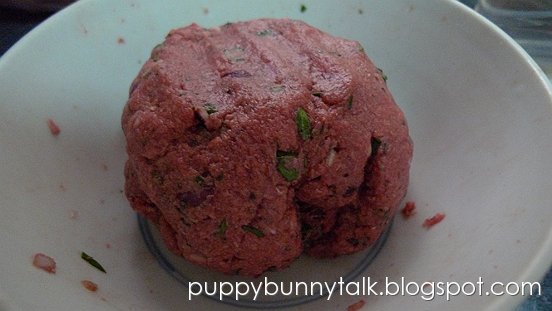
First I prep the meat by adding minced shallots and garlic with fresh basil and rosemary.
Combine that with the meat in a bowl with just your fingers and mash them all up together. I usually add in a dash of Lea & Perrins Worcestershire sauce with some pepper (powdered, not ground) for some extra flavor.
Once that's done, ball it up and put it in the fridge till you're ready to cook. Sitting in the fridge also helps it to set properly as well as absorb the flavors. If you're going to leave it in there for more then 1.5hrs, it's best to cover it with some cling wrap or use a container that has a lid.


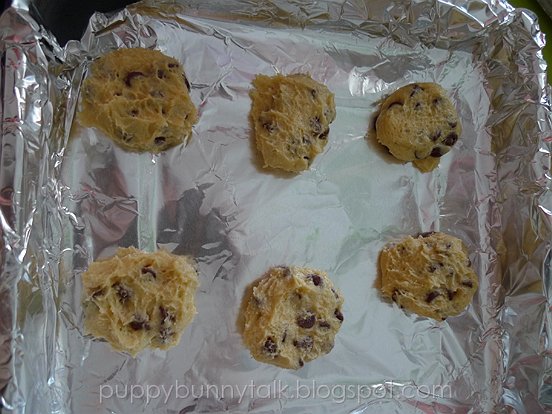
Then comes the tomato based sauce. I've recently discovered this way of prepping the tomatoes and garlic to give it a stronger and richer flavor. Roasted.
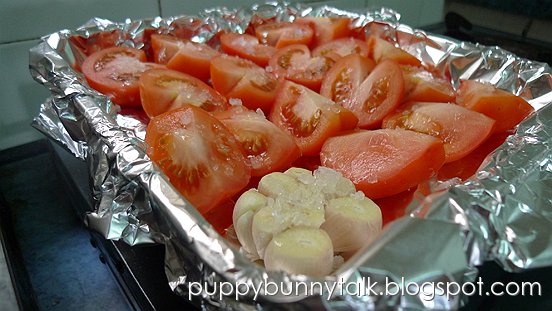
So what I do is, slice the tomatoes in half, if they're big, quarters are fine and lay them skin down on a baking tray. I also like roasting one whole bulb or garlic. It's just got this intensity and flavor that you will definitely fall in love with.
Preheat the oven first. I set mine at 200C/390F
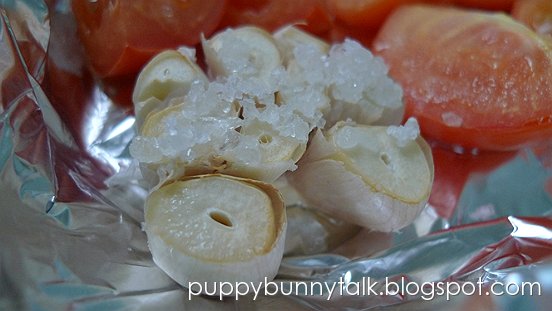
Drizzle some olive oil over all of them (tomatoes and garlic) and then some salt. Then shove them in the oven. I usually leave them in there for about 20 mins or so, at 180C/350F.
Making the base
While waiting for the tomatoes, I finely minced two yellow onions and roughly chopped two cloves of garlic.
Heat up the pan (I used a wok here - it's the Asian-ness) and add in about two glugs of olive oil over medium heat. Chuck the garlic in and let it sauté till it turns lightly brown at the sides, then add in the onions and stir fry.
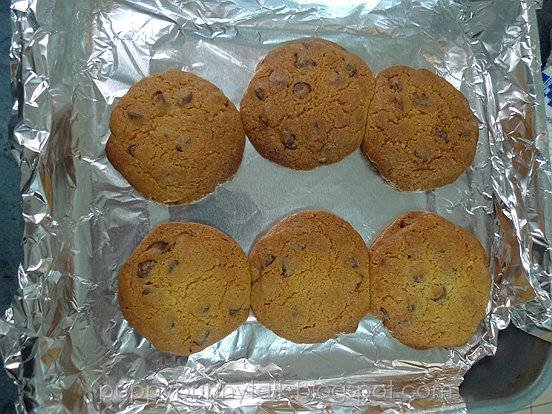
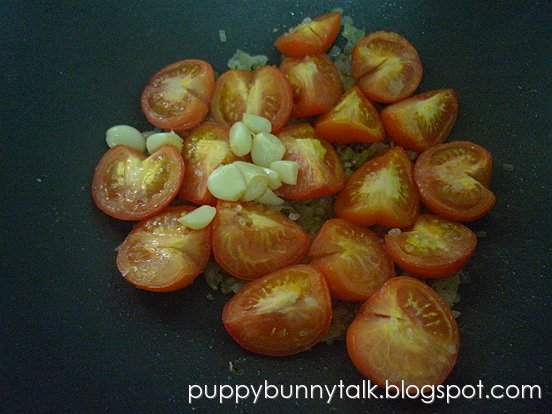
Time to check on the roasted tomatoes and garlic. You'll know they're done when they look like this.
You'll notice that the garlic and its clove jacket is starting to separate, and the tomatoes will look rather puffed up and glossy.
Then I'll just chuck the tomatoes in the pan with the sautéed onions and garlic. The roasted garlic is a little tricker. You'll have to squeeze it out of its "shell". Don't worry though, it comes off pretty easily.
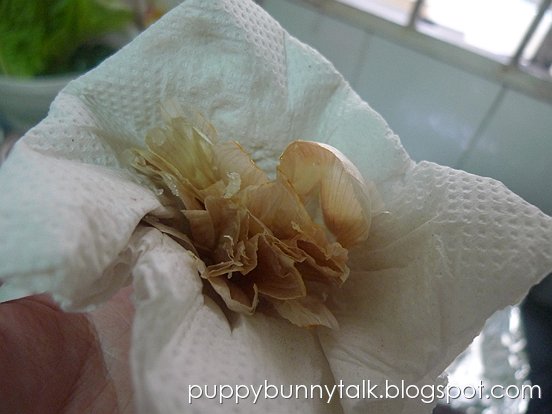
I usually take some kitchen towel and hold it and just slowly squeeze. It really does come off easy and all you're left is an "empty shell"
Mash everything up in the pan and add about 2 tbsps of tomato paste. This gives it a nice tangy flavor. Also, sometimes using fresh tomatoes gives off a light and clean taste, which is good, but you'll still need that robust-ness. This of course is a personal preference, so if you like more, add more.
Then just let it sit and simmer for about 45 mins. Stir occasionally and season with salt/pepper/herbs to suit your taste.
Frying the meatballsTake the meat mixture out of the fridge and form them into balls. Size is up to you, but I keep them to about 1- 1 1/2 inch in diameter. I find that with this size, it's easier to cook. I've tried making massive meatballs, which were great, but I had a bit of difficulty cooking it properly.
Heat up a frying pan and drizzle about 2 tbsps olive oil and evenly coat the pan with the oil. When the pan's hot enough, put the meat balls in and gently fry them.
p/s: sometimes I find it easier to just sear them on the pan and shove them into the oven for another 15mins of baking so that it cooks evenly.
When that's done, add the meatballs into the tomato based sauce and just mix well. Now it's time to get your pasta ready!
This right here, is the puppy's secret. One layer of shredded Parmesan on top of freshly cooked pasta before adding the meatballs and tomato based sauce.
Top it off with the meatballs and tomato sauce and you're ready for dinner!
Happy cooking! :)
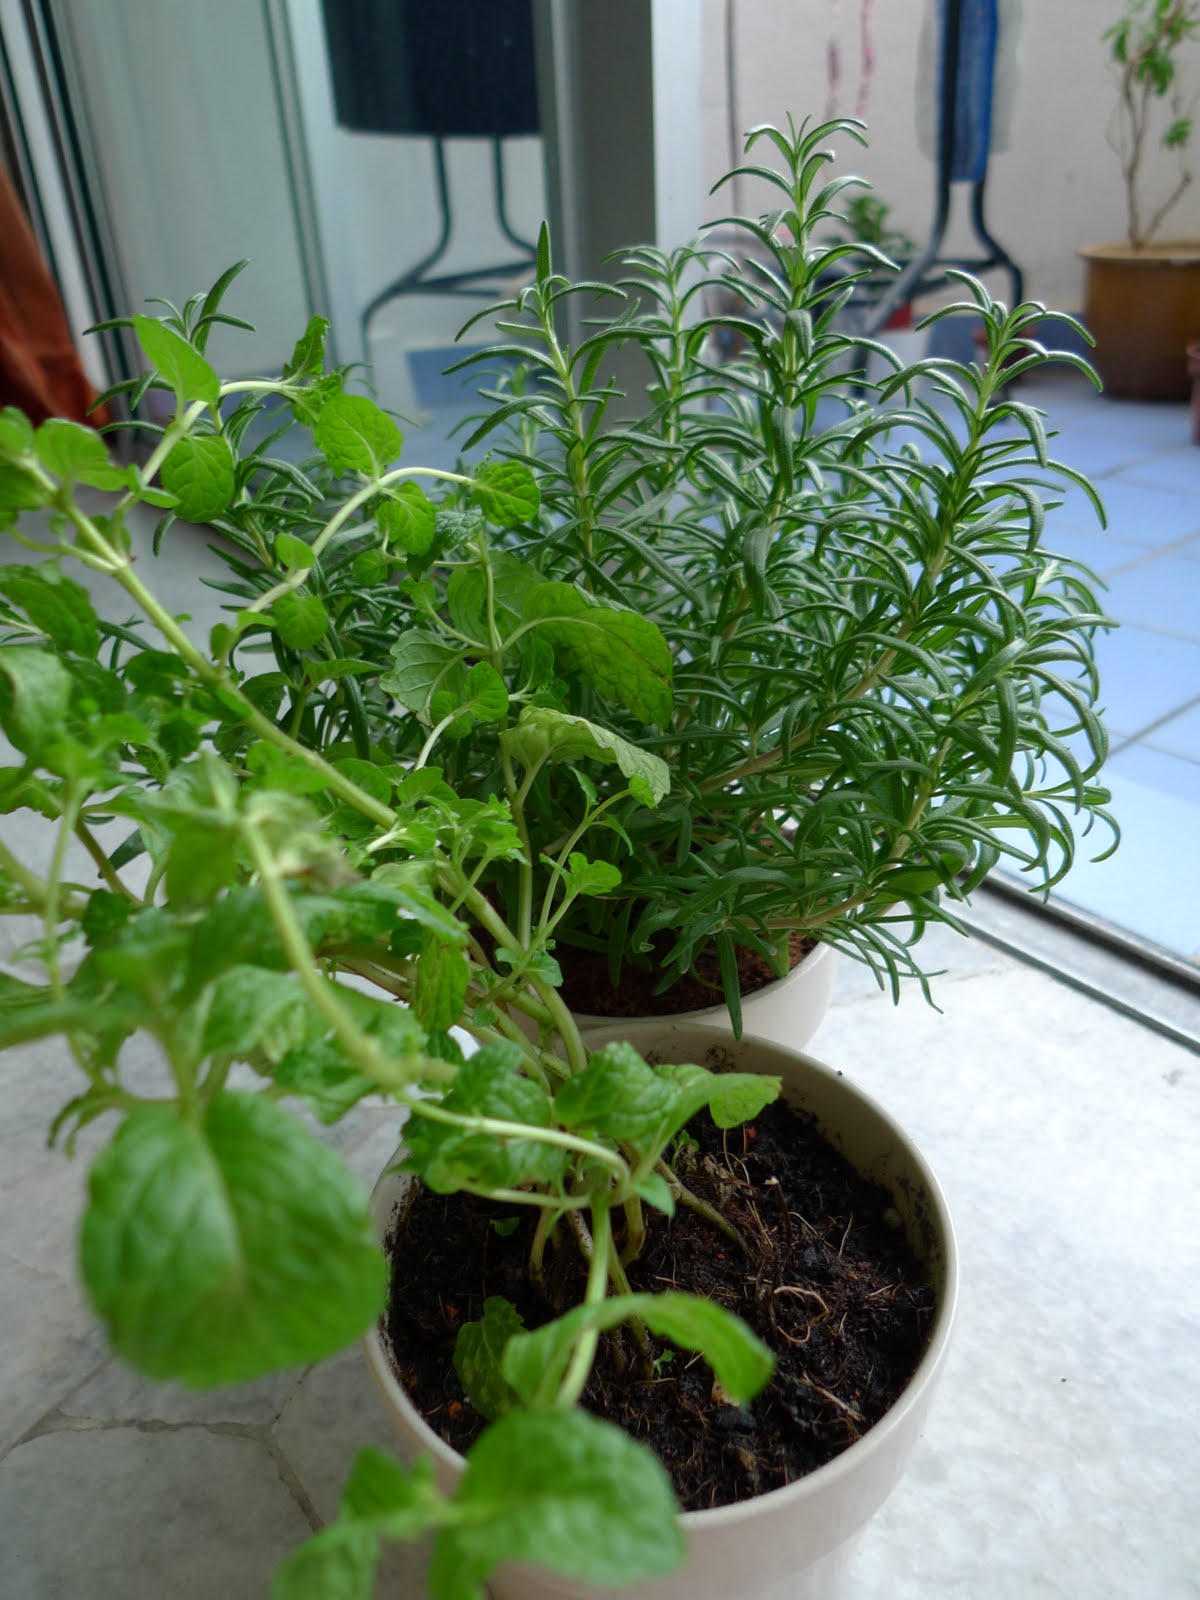 That's it sitting there with my rosemary :)
 These are the ingredients - lemons, mint leaves, sugar and water. How much of each bit you use really depends on how much granita you're making. I decided to go with the recipe and use four lemons.
 Then I cubed four lemons up. I removed the skin as much as possible and also roughly deseeded them.


 I love these little mint specks :)
 Pour it into a shallow pan